

Key Takeaways
What to Know Before Installation Day
If you're new to gutter guards, it helps to understand the basics before a contractor arrives. Our first-timer's introduction to gutter guards explains how different styles work and what questions to ask. Knowing your guard type in advance — mesh, foam, reverse-curve, or another style — lets you follow along during installation and verify the work is done correctly.
You should also have a sense of what the job will cost before agreeing to anything. Pricing is shaped by factors like gutter length, roof pitch, guard material, and local labor rates. Our plain-language cost breakdown explains what drives the final number so you can review quotes with confidence.
What you will need
The steps below walk through what a professional installation actually involves, in order, so you know exactly what to expect on the day.
Initial Inspection and Measurement
Before any guard goes up, a qualified installer assesses your existing gutters. They check for sagging sections, leaks, improper pitch (the slight downward angle that directs water toward downspouts), rust, or damage. They also measure total linear footage — the combined length of all gutter runs — which is the primary unit used in installation quotes.
This phase matters because guards installed over damaged or misaligned gutters won't perform well. Some installers will recommend repairs first; others include minor corrections in their quote. Ask upfront which applies to your situation.
Gutter Cleaning and Preparation
Gutter guards must be installed over clean gutters. Any accumulated debris — leaves, granules from roof shingles, dirt — is removed first. This is typically included in a professional installation, but confirm it in your written quote. Gutters are also flushed with water to verify that downspouts are clear and water flows freely before the guards go on.
Guard Fitting and Attachment
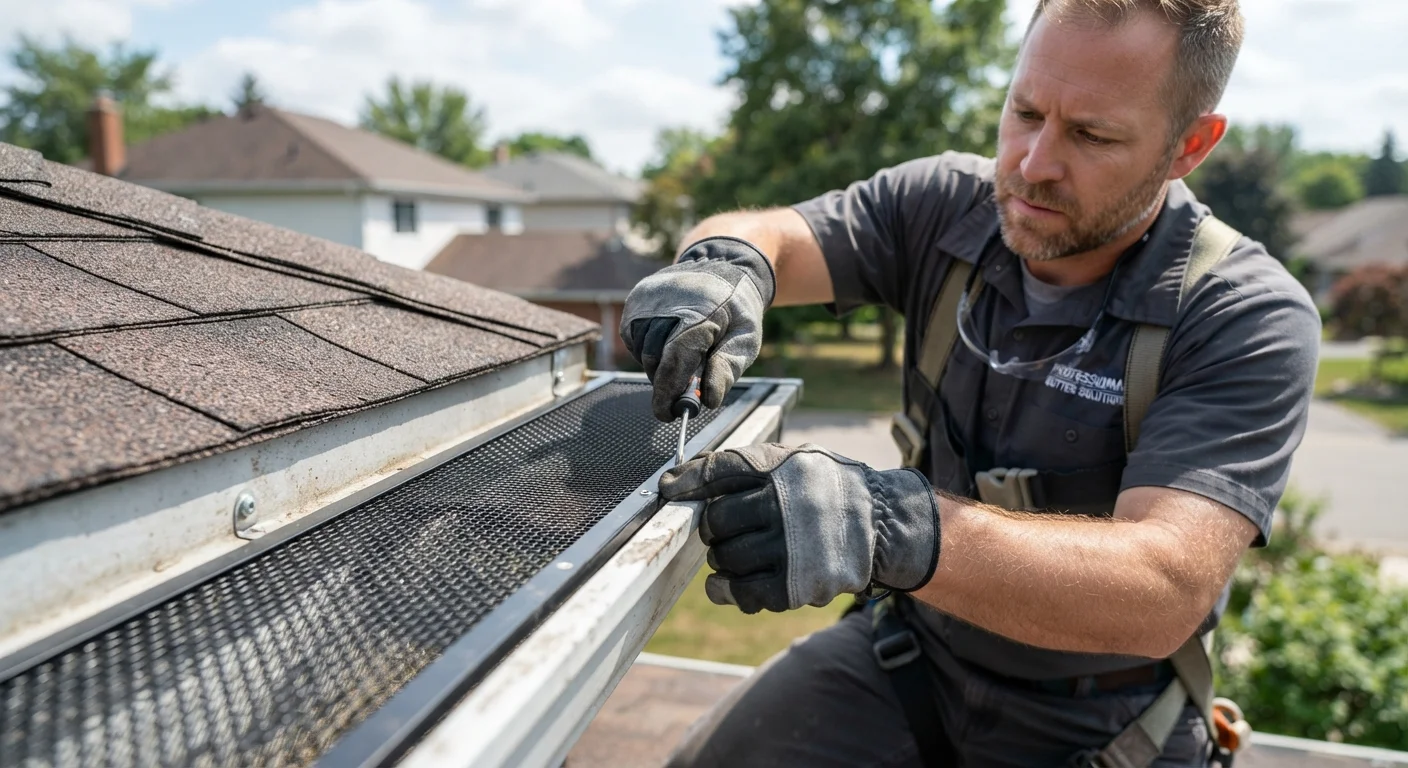
This is the core of the job. The installer cuts guards to fit each gutter run, including corners and sections around downspout openings. Attachment method varies by guard type:
- Micro-mesh and screen guards are often clipped or screwed into the gutter's front lip and slid under the first row of roof shingles at the back.
- Foam and brush inserts are placed inside the gutter channel and don't require fasteners.
- Reverse-curve guards (which use surface tension to guide water in) are typically fastened to the gutter or roof fascia board.
For a deeper look at how each type differs, see our guide to gutter guard types.
Water Flow Testing
Once guards are in place, a reputable installer tests the system with water — either from a hose or by simulating rainfall — to confirm water enters the gutters correctly and exits through the downspouts without pooling or overflowing. This step is easy to skip but important. If water sheets over the guard edge instead of entering the gutter, adjustments need to be made before the installer leaves.
Final Walkthrough and Documentation
A professional installation should end with a walkthrough — either in person or via photos if the installer works at roof height — so you can see the finished product. Ask for any warranty documentation in writing, including what it covers (materials, workmanship, or both) and for how long. Note that manufacturer warranties and installer workmanship warranties are separate documents.
Understanding ongoing upkeep is also part of a good handoff. Even well-installed guards need periodic attention. See our year-round maintenance overview to understand what to expect after installation.
After Installation: What Comes Next
Gutter guards reduce how often debris accumulates inside your gutters, but they don't eliminate the need for maintenance entirely. Fine particles, roof granules, and small seeds can still settle on guard surfaces over time. Periodic inspection — at least twice a year — keeps the system performing as intended.
Some maintenance checks can be done safely from ground level. Learn what you can assess from the ground and when a closer look from a professional is warranted. If any section of your guard appears dented, lifted, or clogged, address it promptly — a small issue is much easier to fix before a heavy rain event.
Cost is also a long-term consideration. Every factor that affects your final installation bill is worth reviewing if you're still weighing whether the investment makes sense for your home.
This article is for informational purposes only. Installation requirements, costs, and outcomes vary by home, region, and contractor. Always obtain written quotes from licensed professionals and verify local building requirements before proceeding with any home improvement project.