

Key Takeaways
Why Understanding the Installation Process Matters
Having a new air conditioning system installed is a significant investment — and for most homeowners, it happens once every 15 to 20 years. That unfamiliarity can leave you feeling uncertain about what the crew is doing, whether the work looks right, and what questions to ask before they pack up and leave.
If you are new to home cooling systems, the beginner's guide to air conditioning explains how the core components work together — useful context before your installation day arrives. For a broader overview of system types and what goes into major decisions, see the complete homeowner's guide to AC systems.
Understanding the sequence of a professional installation will not make you an HVAC technician — but it will help you recognize when a step is being skipped, ask meaningful questions, and feel confident that you got what you paid for.
What you will need
The Installation Process: Step by Step
A standard central AC installation involves six distinct phases, each building on the last. Rushing or skipping any of them — particularly the refrigerant handling and pressure testing steps — can compromise system performance and lifespan. The steps below reflect what a thorough, code-compliant installation should look like.
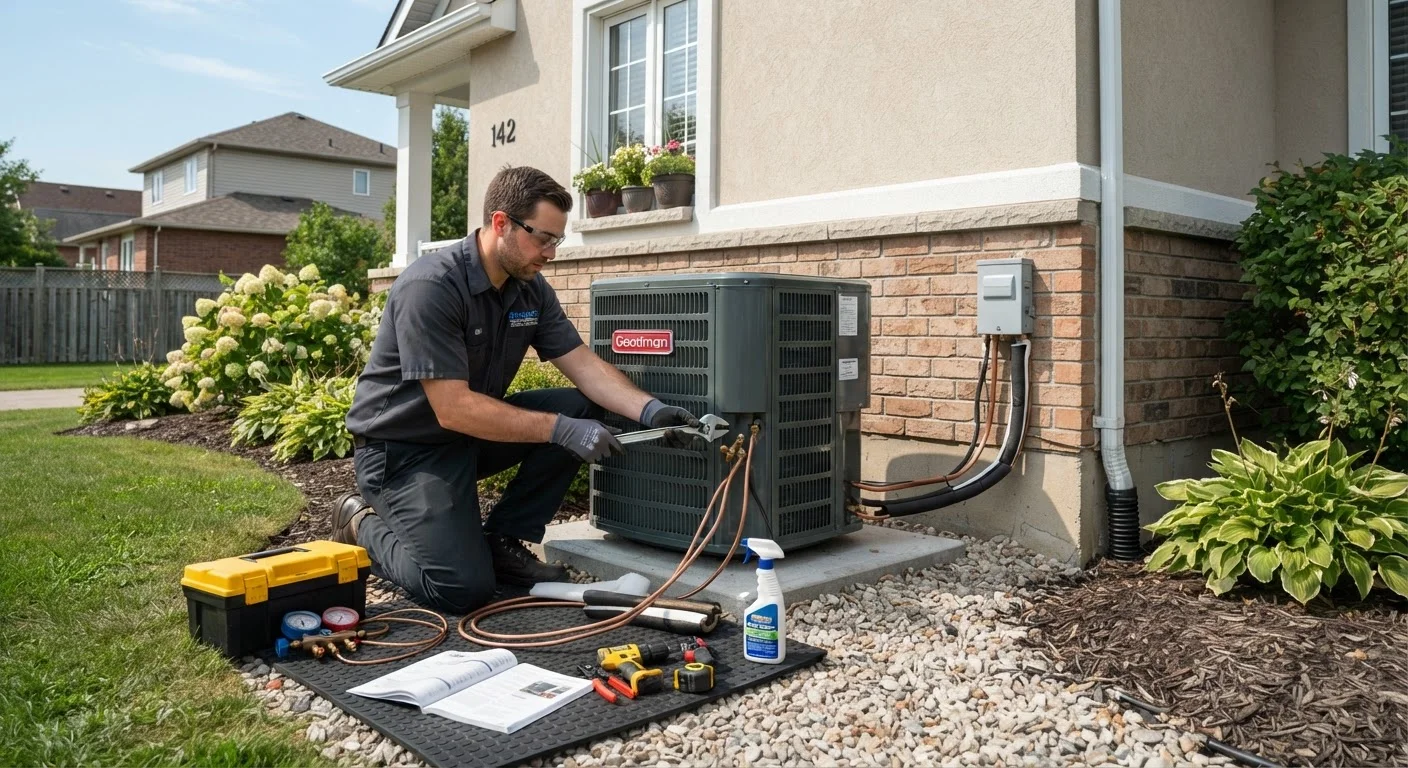
Manifold gauge set
Used by the technician to measure refrigerant pressure and verify the system is properly charged.
Vacuum pump
Removes air and moisture from refrigerant lines before charging — a critical step that protects system longevity.
Torque wrench
Ensures refrigerant line fittings are tightened to manufacturer specifications to prevent leaks.
Digital multimeter
Checks electrical connections and voltage at the air handler and condenser unit.
Level and mounting pad
Ensures the outdoor condenser sits level on a stable surface, which is required for proper compressor operation.
Pre-installation assessment and equipment delivery
Before any physical work begins, your contractor should walk through your home to confirm measurements, review the ductwork condition (for central systems), and identify where the indoor air handler and outdoor condenser will be placed. Equipment is typically delivered to the job site the morning of installation.
This is a good time to ask questions and clarify expectations. Review the contract to confirm the system model, warranty terms, and what is included in the installation scope.
Remove the old system (if replacing)
If you have an existing unit, technicians will safely recover the old refrigerant using certified equipment — releasing refrigerant into the atmosphere is illegal under federal law. The old indoor and outdoor units are then disconnected and removed from the property.
Disposal is typically handled by the contractor. Confirm this in advance so you are not left with old equipment on your property.
Install the indoor air handler or evaporator coil
The indoor component — either a standalone air handler or an evaporator coil mounted on your furnace — is positioned and secured in place. Technicians connect it to existing ductwork (or install new connections), attach the condensate drain line, and make initial electrical connections.
In homes with older ductwork, this step may take longer if repairs or sealing are needed to ensure efficient airflow. Leaky ducts can significantly undermine a new system's performance.
Place and connect the outdoor condenser unit
The outdoor condenser is positioned on a level concrete pad or composite mounting pad — level placement is essential for compressor health and long-term reliability. Refrigerant lines (called line sets) run from the indoor unit to the outdoor condenser through a small access point in the wall.
Electrical wiring from your home's panel to the condenser is connected at this stage. This work must meet local electrical code and is part of what the permit inspection will verify.
Pressure test, evacuate, and charge the refrigerant lines
This is one of the most technically critical phases. Technicians pressurize the refrigerant lines with nitrogen to check for leaks, then use a vacuum pump to remove all air and moisture from the system. Only after a successful vacuum hold will refrigerant be introduced.
Proper refrigerant charge — measured in pounds and verified with a manifold gauge — is essential. An overcharged or undercharged system will run inefficiently, wear out faster, and may not cool effectively.
Test the system and walk through operation with you
Once charged, the technician powers on the system and runs it through a complete cycle. They will check supply and return air temperatures, verify thermostat operation, confirm the condensate drain is flowing properly, and listen for any abnormal sounds.
Before they leave, ask for a walkthrough of the thermostat settings, filter location, and any maintenance tasks you are responsible for. This is also the time to receive your warranty documentation and permit inspection information.
Permits and Licensed Trades Are Required
AC installation involves electrical wiring, refrigerant handling, and sometimes ductwork — all of which are regulated in most U.S. jurisdictions. A licensed HVAC contractor is legally required to handle refrigerants under EPA Section 608 rules. Always verify that your contractor pulls the necessary permits and that the work is inspected; unpermitted installations can void warranties and create complications when selling your home.
Before your installation date, it is worth reviewing the questions in our guide on what to ask an HVAC contractor. Being prepared with the right questions puts you in a much stronger position.
The Days and Weeks After Installation
Once the crew leaves, your job as a homeowner begins. The first 30 days are an important window to observe how the system performs and catch any issues while your installer is still easy to reach under the installation warranty.
What to Expect in the Days After Installation
It is normal for a new AC system to take a day or two to settle into its most efficient operation as components seat and refrigerant stabilizes. You may notice slightly uneven cooling at first. If the system short-cycles (turns on and off very frequently), produces unusual odors after the first hour of use, or fails to reach the set temperature within a reasonable time, contact your contractor — these are not typical break-in behaviors.
Schedule your first filter check about 30 days after installation — some systems accumulate construction dust during the installation process that can restrict airflow early on. From there, follow the manufacturer's recommended filter replacement schedule, which is typically every one to three months depending on filter type and household conditions.
If your installation involved a permit, confirm with your contractor that the inspection has been scheduled and completed. Keep all paperwork — the permit, inspection sign-off, warranty cards, and the technician's start-up report — in a dedicated home file. You may also find it helpful to understand what a routine heating system service visit looks like, since your HVAC contractor will likely handle both systems.
Skipping the Permit Inspection Is Risky
Some homeowners are tempted to skip the permit inspection to save time. This is a significant risk. An uninspected installation may have electrical or refrigerant issues that go undetected, can void your equipment warranty, and may create complications with your homeowner's insurance or when selling your home. Insist that your contractor schedules the inspection and provide you with a signed-off copy.
This article is for informational and educational purposes only. HVAC installation requirements, permit rules, and code standards vary by location. Always verify local requirements with your contractor and the relevant authority having jurisdiction before work begins.