

Bathroom Upgrades

Before the Installer Arrives: How to Prepare Your Bathroom for a Walk-In Tub

Share
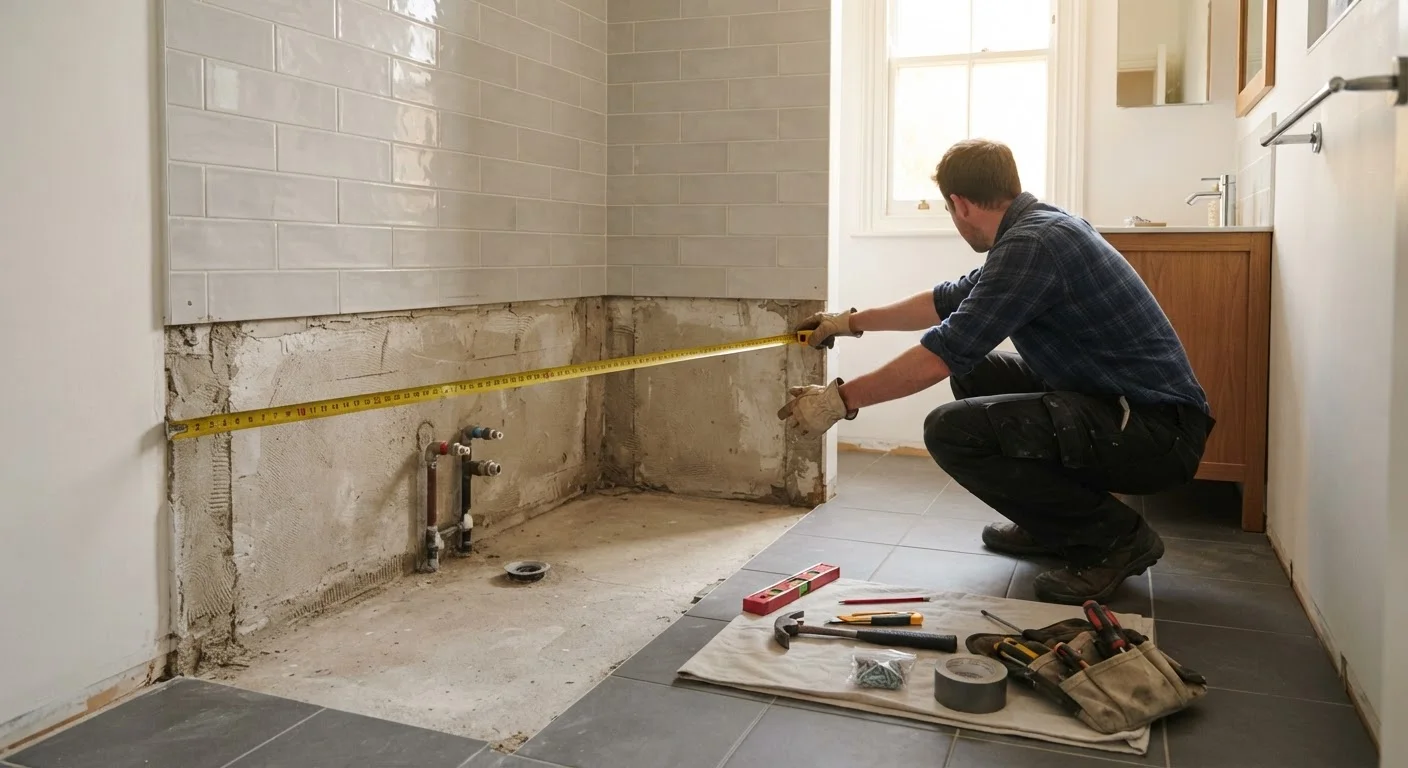
A bathroom being measured and prepared for a walk-in tub installation with tools nearby.

Key Takeaways

Measuring your bathroom accurately before the installer arrives helps avoid costly surprises on the day.
Plumbing access, water heater capacity, and subfloor condition all affect how installation goes.
Clearing a clear path and protecting your home saves time and prevents accidental damage.
Discussing permits, electrical needs, and drain placement with your contractor beforehand is essential.
A few hours of preparation can prevent delays, added costs, and unnecessary stress.
60–120 min

Summary

22 items · 1–2 hours

Why Preparation Matters Before Installation Day

A walk-in tub installation is a significant project — one that touches your plumbing, flooring, walls, and possibly your home's electrical system. While your installer handles the technical work, what you do in the days before they arrive can make a meaningful difference to how smoothly everything goes.

Installers who arrive to an unprepared bathroom may need to pause, reschedule, or charge for additional time they hadn't planned for. More importantly, there are details about your specific bathroom — its dimensions, plumbing setup, and structural condition — that only you can observe and communicate in advance.

This checklist is designed to walk you through that preparation step by step. For broader context on what the full project involves, see the complete homeowner's resource on walk-in tubs. And if you're still finalizing your contractor choice, the questions to ask a contractor before signing is worth reviewing before you commit.

What to Check, Measure, and Communicate Beforehand

Use the checklist below as a practical guide in the days leading up to your installation. Work through each group at a comfortable pace — most homeowners find this takes one to two hours total.

Measurements and Space

Measure the width and length of your current bathtub opening and write the dimensions down to share with your installer. Must
Measure the doorway width into the bathroom to confirm the new tub unit can be brought in without disassembly. Must
Check whether there are any tight hallways, turns, or stairs between the front door and the bathroom that could complicate delivery. Must
Note the ceiling height above the tub area if you're considering a tub with an overhead shower feature. Should

Plumbing Access and Water Supply

Locate the shut-off valve for your bathroom's water supply and confirm it operates without stiffness or leaking. Must
Check your water heater's capacity — walk-in tubs hold more water than standard tubs, so a unit under 50 gallons may struggle to fill the tub with comfortably warm water. Must
Identify where the existing drain is located in the tub area and note whether it is centered, offset, or positioned at the end. Must
Ask your contractor in advance whether any plumbing modifications will be needed based on your current drain and supply pipe positions. Should

Floor and Structural Condition

Walk slowly around the existing tub and press gently on the floor with your foot — any soft spots or give may indicate subfloor damage that must be addressed before installation. Must
Look for visible water stains, discoloration, or warping on the floor and lower walls near the existing tub. Must
If the floor is tiled, note any cracked or loose tiles that could complicate removal or affect the new tub's footing. Should

Electrical Requirements

Confirm with your contractor whether your chosen walk-in tub requires a dedicated electrical circuit for jets, heater, or controls — this is common and may require a licensed electrician. Must
Locate your home's electrical panel and ensure there is accessible space for any additional circuit breaker if one is needed. Should
Do not attempt any electrical work yourself — this must be carried out by a licensed electrician and is typically subject to permit and inspection requirements. Must

Clearing and Protecting Your Home

Remove all personal items, toiletries, towels, and accessories from the bathroom before the installer arrives. Must
Clear a path from the front entrance to the bathroom — move furniture, rugs, and fragile items that could be bumped during delivery. Must
Lay down protective covering (such as cardboard or drop cloths) on hallway flooring to prevent scuffing or damage from equipment and the old tub removal. Should
Arrange temporary bathroom access if you only have one bathroom, since the room may be out of service for one to two days. Must

Permits and Pre-Installation Conversations

Ask your contractor which permits are required in your area for a walk-in tub installation — plumbing and electrical work often require permits and inspections. Must
Confirm in writing who is responsible for pulling permits — it is generally best practice for the licensed contractor to do this. Must
Review the installation timeline with your contractor so you know when the water will be off, how long the project is expected to take, and what access they'll need. Should

For a closer look at what actually happens once the installer starts work, the article on what walk-in tub installation actually involves explains each stage in plain language.

Don't Skip the Water Heater Check

Walk-in tubs typically hold 40 to 80 gallons of water — considerably more than a standard bathtub. If your water heater has a smaller capacity or is aging, it may not supply enough hot water to fill the tub comfortably. Raise this with your contractor before installation day, as upgrading the water heater may need to be scheduled separately and could affect your overall timeline.

Permits Protect You — Not Just Your Contractor

Unpermitted plumbing or electrical work can create problems when you sell your home, make insurance claims, or need future repairs. Always confirm that required permits are obtained before work begins. If a contractor discourages you from pulling permits, treat that as a serious warning sign.

Tools and Resources You'll Need

You don't need contractor-level expertise to prepare your bathroom — but a few basic tools will help you complete the checklist accurately and document what you find for your installer.

Required

Tape measure

Measure your tub opening, doorway width, and hallway clearances accurately before the installer arrives.

Required

Notepad or smartphone notes app

Record measurements, observations, and questions to share with your contractor.

Required

Flashlight or phone torch

Inspect the floor near the tub base, under vanity edges, and around the drain area for water damage or soft spots.

Optional

Camera or smartphone

Photograph the existing tub space, shut-off valve location, and any damage you notice so your contractor can review before arrival.

Optional

Drop cloths or cardboard sheets

Protect hallway flooring from scuffs and damage during tub removal and delivery of the new unit.

If accessibility is a broader goal for your home, the accessible bathrooms hub covers how to think about your whole bathroom layout, not just the tub. And if you're weighing a walk-in tub against a shower conversion, planning your first walk-in shower offers a useful starting point for comparison.

This article is for informational purposes only. Always consult a licensed contractor and verify local permit requirements before beginning any bathroom renovation.

Bathroom Upgrades Editorial Team is the collective byline for our editorial team and contributor network. Articles published under this byline or an editorial pen name are researched, written, and reviewed according to our editorial standards for clarity, consistency, and independence before publication.

View all articles by Bathroom Upgrades Editorial Team →
Disclaimer: The content on this site is for informational purposes only and is not a substitute for professional advice. Always consult a qualified professional for guidance specific to your situation.