

Key Takeaways
Walk-In Tub Installation
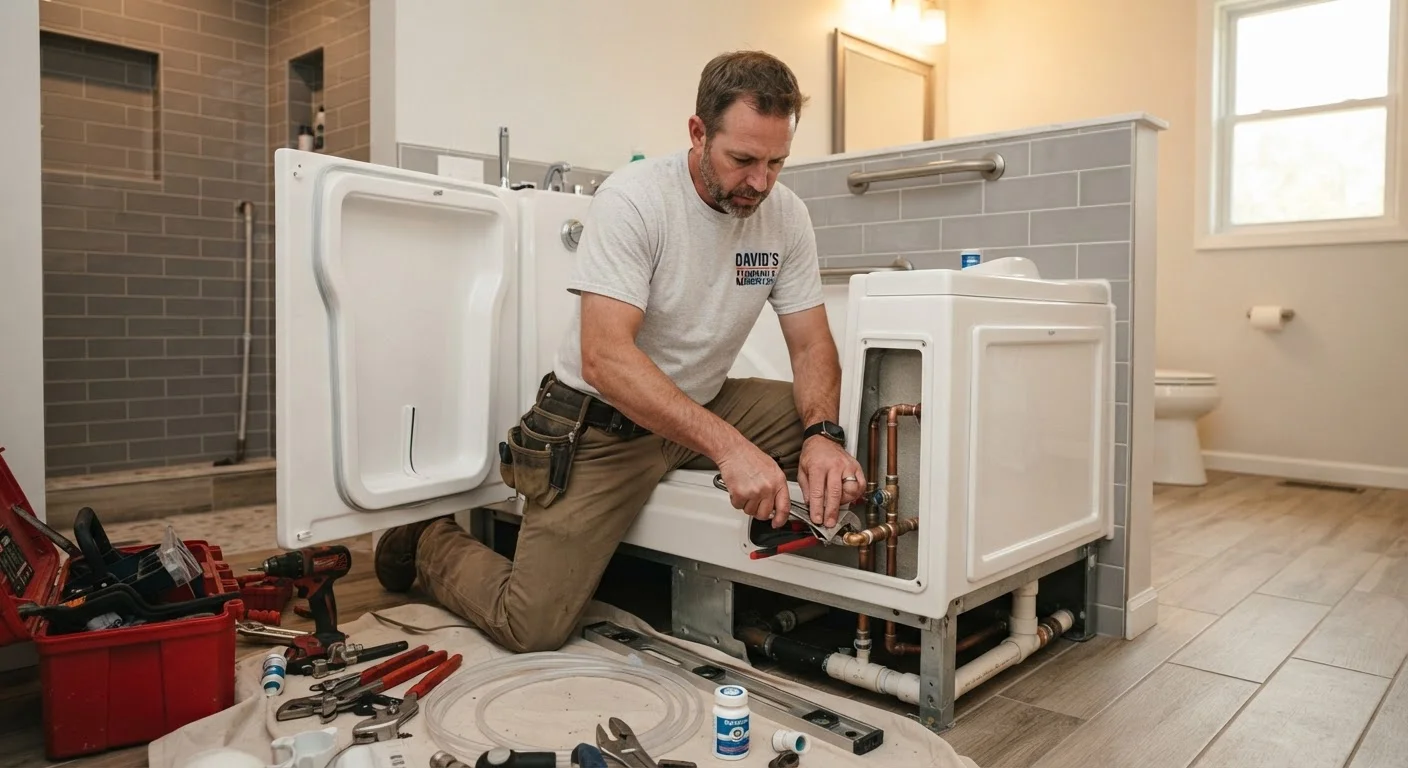
Walk-in tub installation is the process of removing an existing bathtub and replacing it with a specialized tub that has a watertight door in its side wall. A licensed contractor handles the plumbing connections, positions and secures the new unit, seals all joints, and verifies that everything meets local building standards before handing the bathroom back to you.
Most installations require modifications to existing drain and water supply lines, and some jurisdictions require a permit for plumbing work of this scope.
Step One: Removing the Old Tub
The installation process begins long before the new tub enters your home. A contractor's first task is safely disconnecting and removing the existing bathtub. This means shutting off the water supply, detaching the drain assembly, and carefully cutting away any caulk or adhesive bonding the old tub to surrounding walls.
If your current tub is a one-piece fiberglass unit or a cast-iron model, removal can be physically demanding. Cast-iron tubs, in particular, are often cut into sections on-site so they can be carried out without damaging doorways or flooring. Once the old tub is out, the contractor inspects the subfloor and wall framing for any water damage, rot, or structural weakness. Addressing those issues before the new tub goes in is critical — skipping this step is one of the reasons some installations develop problems later. For a broader look at common mistakes, see why some walk-in tub installations go wrong.
Positioning, Plumbing, and Getting the Drain Right
Once the space is cleared and confirmed structurally sound, the new walk-in tub is moved into position. Because these units are heavier than standard tubs — particularly models with built-in jets or heaters — contractors typically use dollies and take care not to damage flooring during placement.
Aligning the tub's drain with the existing drain opening is one of the more precise parts of the job. If the new unit's drain doesn't line up exactly, the plumber may need to reposition the drain line — a task that involves cutting into the subfloor. Water supply lines also need to be connected, and because walk-in tubs often require higher hot water volumes to fill before you can exit (you must wait inside while it drains), some homeowners also upgrade their water heater around this time. Your contractor should discuss supply capacity with you before installation day. For a detailed pre-installation checklist, see how to prepare your bathroom for a walk-in tub.
Ask About Water Heater Capacity Early
Walk-in tubs fill while you're seated inside — and you must wait for the water to drain before opening the door to exit. If your water heater can't supply enough hot water to fill the tub, your bath will turn cold before it's deep enough. Raise this with your contractor during the planning phase, not after installation.
Sealing, Finishing, and Verifying the Installation
With the tub secured and plumbing connected, attention shifts to waterproofing. Every seam where the tub meets the wall, and especially around the inward-swinging door frame, must be sealed with waterproof caulk or appropriate sealant. This is one of the most consequential steps — inadequate sealing around the door is a leading cause of water intrusion behind walls. For a plain explanation of what a walk-in tub is and how the door mechanism works, see walk-in tubs explained.
The surround — the wall panels or tile that border the tub — is installed or re-secured at this stage. Contractors then test the drain, check all supply connections for leaks, and confirm that any jet or heating systems function correctly. Before the contractor leaves, walk through the bathroom with them. Run water, test the door seal, and ask about anything that seems unclear. Understanding your new fixture fully helps you catch issues early and use the tub safely from day one. To weigh whether a walk-in tub is the right fit for your situation, compare walk-in showers and walk-in tubs side by side.
1–2 days
Typical walk-in tub installation duration
Most straightforward installations in a standard bathroom alcove are completed within one to two days, according to installer estimates across the industry.
~50 gal
Hot water typically needed to fill a walk-in tub
Walk-in tubs generally require 40–60 gallons to reach a usable depth, which is why water heater capacity is a key planning consideration.
3–5 min
Average drain time after bathing
Homeowners typically wait several minutes inside the tub after bathing while water drains — a trade-off worth understanding before installation.