

Key Takeaways
Start here
Why Homeowners Choose Walk-In Showers
Next
Understanding Size, Layout, and Threshold Options
Then
Accessibility Features Worth Knowing About
Getting practical
What the Installation Process Involves
Final step
Working With a Contractor: What to Ask First
Why Homeowners Choose Walk-In Showers
For many homeowners over 50, the decision to replace a traditional tub-shower combination with a walk-in shower comes down to two things: safety and ease of daily use. Standard tub walls typically sit 14 to 18 inches off the floor — a height that becomes increasingly difficult and risky to step over as balance and flexibility change with age.
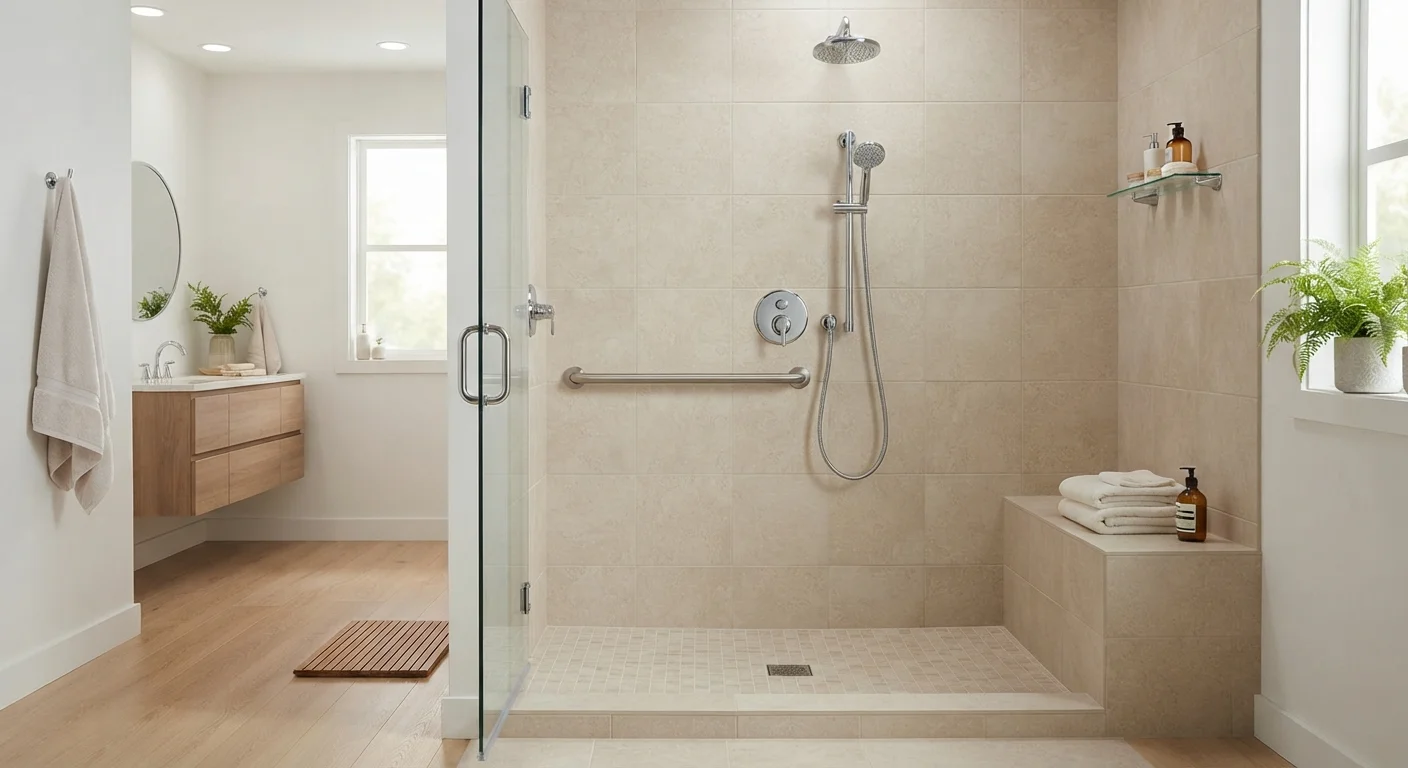
Walk-in showers eliminate that barrier entirely. With a low or zero-threshold entry, you simply step in rather than step over. That single change can meaningfully reduce the risk of bathroom falls, which are among the most common causes of home injury for older adults.
Beyond safety, many homeowners find that a well-designed walk-in shower simply feels better — more spacious, easier to clean, and more consistent with modern bathroom aesthetics. If you're also weighing a soaking option, our walk-in tub guide covers how the two options compare.
Understanding Size, Layout, and Threshold Options
Before talking to a contractor, it helps to understand the basic dimensions and layout choices available to you.
Minimum vs. comfortable sizing: Building codes in most U.S. jurisdictions set a minimum shower size of 36 by 36 inches. In practice, a 36 by 48 inch or larger footprint is more comfortable — particularly if you plan to include a fold-down seat or a caregiver may need to assist in the future.
Threshold types: You'll encounter three common entry styles:
- Zero-threshold (curbless): The floor transitions flat into the shower. This is the most accessible option and is widely recommended for older adults.
- Low-threshold: A small barrier of one inch or less. Easier to step over than a standard tub but slightly less accessible than a curbless design.
- Standard curb: A raised edge of two to four inches, typically used when curbless installation isn't structurally feasible.
Zero-threshold entry
A shower entrance with no raised barrier — the bathroom floor flows directly into the shower floor, making it the easiest and safest entry style for people with limited mobility.
Waterproofing membrane
A layer of moisture-resistant material applied to shower walls and floors before tile is installed. It prevents water from seeping into the structure of your home.
Grab bar blocking
Solid backing material (usually wood or metal) installed inside the wall during construction, giving grab bars a secure anchor point. Without it, bars cannot safely support body weight.
Subfloor
The structural layer of flooring beneath the visible surface tile or finish. It must be level, dry, and strong enough to support the weight and moisture of a shower.
Fold-down shower seat
A wall-mounted seat that folds up when not in use. It allows a person to sit while showering, reducing fatigue and improving stability.
ADA guidelines
The Americans with Disabilities Act sets accessibility standards for buildings. While private homes aren't legally required to comply, ADA shower dimensions and feature placements are widely used as a practical benchmark for accessible design.
Your bathroom's existing drain location and subfloor condition will influence which threshold style is practical. Our guide to what contractors assess before installation explains those factors in more detail.
Accessibility Features Worth Knowing About
Accessibility features don't have to look clinical or institutional. Many of them are now available in finishes and styles that blend naturally with any bathroom design. Planning them into your shower from the start is nearly always easier and less expensive than adding them later.
Key features to consider:
- Grab bars: Installed into wall studs or reinforced backing, these provide steady support when entering, exiting, or moving inside the shower. Placement matters — a contractor experienced in accessible design can advise on positioning.
- Fold-down shower seat: Allows you to sit while showering, which reduces fatigue and provides a stable position. When not in use, the seat folds flat against the wall.
- Handheld showerhead: Mounted on an adjustable slide bar, this allows you to direct water while seated or standing, and to rinse specific areas without repositioning your whole body.
- Non-slip flooring: Smaller mosaic tiles or textured surfaces increase traction underfoot. This is a design choice made during installation, not an add-on.
- Wider entry: A 36-inch-wide opening accommodates a walker or wheelchair if needed in the future.
For a broader look at accessible bathroom planning, see our first accessible bathroom project guide.
What the Installation Process Involves
Understanding what actually happens during installation helps you prepare and set realistic expectations.
A walk-in shower installation typically involves:
- Demolition: Removing the existing tub or shower unit, surrounding tile, and any water-damaged materials behind the walls.
- Plumbing adjustments: Drain relocation or reconfiguration is common, especially for curbless designs. This is licensed plumbing work and should never be attempted without a qualified professional.
- Subfloor preparation: The subfloor must be level, structurally sound, and properly sloped toward the drain. Any rot or damage found during demo needs to be addressed before tile goes down.
- Waterproofing: A moisture barrier is applied to the walls and floor of the shower area before any tile is set. Skipping or cutting corners on this step is the most common cause of long-term water damage.
- Tile and fixture installation: Walls and floors are tiled, and fixtures including the showerhead, controls, grab bar backing, and seat (if included) are fitted.
Ask About Grab Bar Backing Early
If there's any chance you'll want grab bars now or in the future, ask your contractor to install reinforced backing inside the walls during the initial build. Adding backing after tile is in place requires opening the wall — a significantly more disruptive and costly process. Planning ahead costs very little at the time of installation.
Permits are typically required when plumbing is moved. Ask your contractor which permits they will pull and how inspections are handled. For a complete end-to-end overview, see our walk-in shower start-to-finish guide.
Working With a Contractor: What to Ask First
Choosing the right contractor is as important as any design decision you'll make. Here's how to approach the conversation:
- Verify licensing and insurance: Ask for their contractor's license number and proof of general liability and workers' compensation insurance. A reputable contractor will share these without hesitation.
- Ask about experience with accessible design: Not all bathroom remodelers have experience with grab bar blocking, curbless shower construction, or ADA-informed design principles. Ask specifically what accessible shower projects they've completed.
- Request itemized written quotes: A quote should break down labor, materials, permits, and any contingency costs for surprises found during demo. Avoid contractors who offer only a single lump-sum figure.
- Understand the timeline: Ask how long the project is expected to take, when your bathroom will be unusable, and how disruptions will be managed.
- Confirm who does the work: Some contractors subcontract plumbing or tile work. Know who will be in your home and what oversight the primary contractor provides.
If you want a fuller roadmap for planning an accessible renovation from start to finish, our accessible bathroom renovation roadmap is a helpful next read.
This article is for informational purposes only. Renovation costs, timelines, and code requirements vary by location. Always verify local permit requirements and work with licensed professionals for plumbing and structural work.