

Key Takeaways
Start here
What 'Accessible Bathroom' Actually Means
Next
Stage 1: Assessing Your Needs and Setting Goals
Then
Stage 2: Planning, Budgeting, and Permits
When you're ready
Stage 3: Finding and Working with a Contractor
During the project
Stage 4: Installation — What Happens in Your Home
Finishing up
Stage 5: Final Walkthrough and Moving Forward
What 'Accessible Bathroom' Actually Means
If you're new to home renovation, the phrase accessible bathroom might bring to mind clinical hospital settings. In reality, an accessible bathroom is simply one designed to be safer and easier to use — for you, right now, and as your needs change over time.
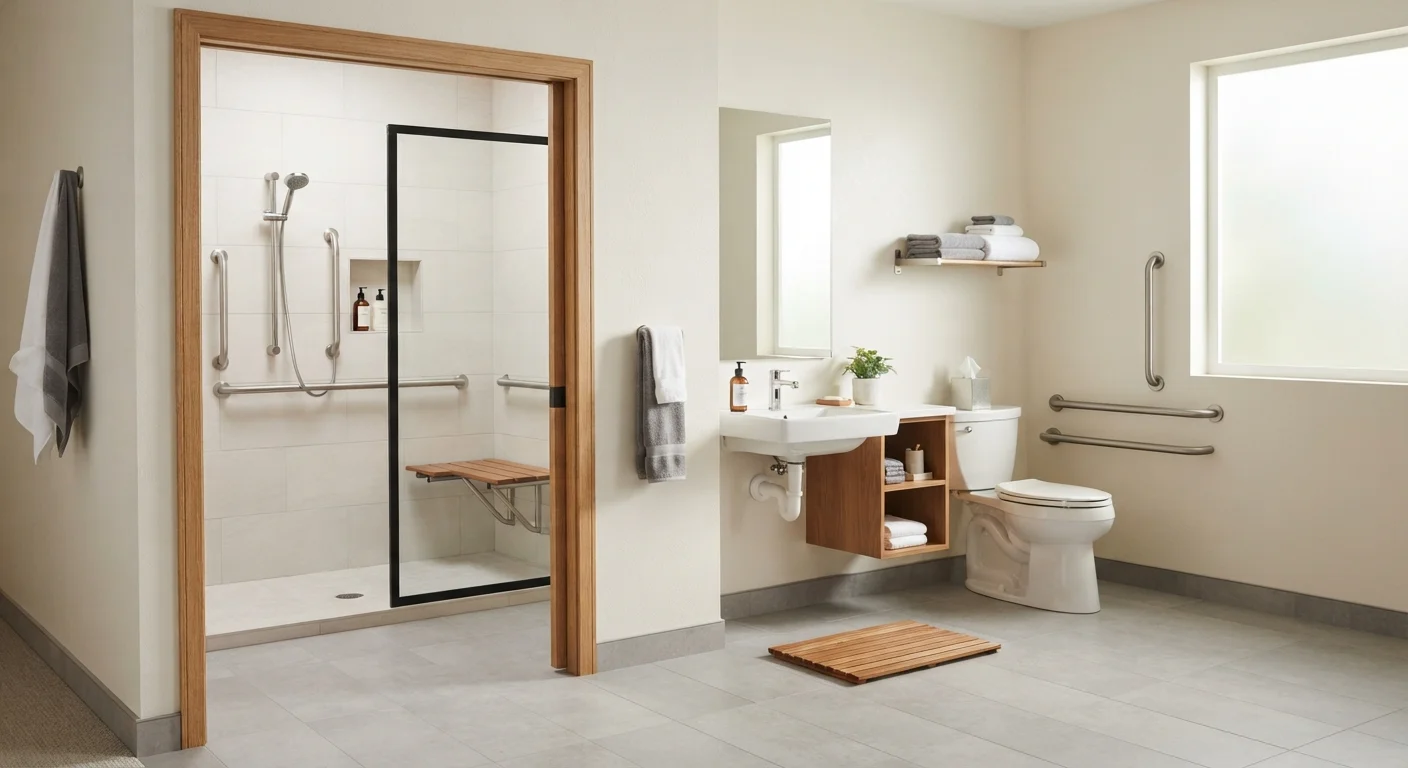
Features commonly found in accessible bathrooms include grab bars near the toilet and shower, a walk-in shower with a low or zero-threshold entry, comfort-height fixtures, slip-resistant flooring, and wider doorways that allow easier movement. For a plain-language breakdown of these terms, see our bathroom accessibility glossary.
To understand what these features look like in real homes — and why they matter for homeowners over 50 — read our guide on what an accessible bathroom actually means.
Zero-threshold entry
A shower or tub entrance with no raised lip or curb to step over, making it much easier and safer to enter and exit.
Grab bar
A sturdy bar mounted to the wall near a toilet, shower, or tub that you can hold for balance and support.
Comfort-height toilet
A toilet that is slightly taller than standard, making it easier to sit down on and stand up from — similar in height to a chair.
ADA clearance
Minimum space measurements established by accessibility guidelines to ensure a person using a mobility aid can move safely around a fixture or through a doorway.
Aging in place
The ability to live safely and independently in your own home as you get older, often supported by home modifications like accessible bathrooms.
Rough-in work
The behind-the-scenes plumbing and electrical work done inside walls and floors before visible finishes like tile or fixtures are installed.
Stage 1: Assessing Your Needs and Setting Goals
Before calling a single contractor, spend time honestly assessing how you use your bathroom today and where friction or risk exists. Ask yourself:
- Do you ever feel unsteady stepping in or out of the shower or tub?
- Is it difficult to lower yourself onto or rise from the toilet?
- Would more floor space or a wider doorway improve your comfort?
- Are you planning ahead for future mobility changes, or addressing a current challenge?
Write down your answers. This list becomes your starting point for every conversation with a designer or contractor. If a walk-in shower is a priority, our overview of walk-in shower options can help you understand what's available. Alternatively, if soaking baths are important to you, explore walk-in tub considerations before making any decisions.
Stage 2: Planning, Budgeting, and Permits
Once you know what you want, it's time to plan how to get there. A thorough plan covers three things: scope, budget, and compliance.
Scope means deciding exactly what will change. A small project might add grab bars and swap out the showerhead. A larger project could replace a standard tub with a roll-in shower, reroute plumbing, and widen the doorway.
Budget should include a buffer — typically 10–15% above your expected total — for surprises discovered once walls are opened. Costs vary widely by region and project size, so gather multiple written estimates rather than relying on a single quote.
Permits are required for most projects that touch plumbing, electrical systems, or structural elements. Skipping permits can create problems when you sell your home or make an insurance claim. Verify local requirements before work begins; a licensed contractor should be familiar with what your municipality requires. For a comprehensive planning framework, see our accessible bathroom renovation roadmap.
Stage 3: Finding and Working with a Contractor
Choosing the right contractor is one of the most consequential decisions in this process. Look for someone with direct experience in accessibility or aging-in-place renovations — not just general bathroom remodeling.
When interviewing candidates, ask for:
- Proof of current license and liability insurance
- References from similar past projects
- A detailed written quote specifying materials, labor, and timeline
- Clarity on who handles permit applications
- Their policy if unexpected issues arise mid-project
Never pay the full amount upfront. A reasonable payment structure might involve a deposit at signing, milestone payments during the project, and a final payment only after your walkthrough is complete and you're satisfied. Trust your instincts — a contractor who rushes you or avoids your questions is a warning sign.
Get Everything in Writing
Before any work begins, make sure you have a signed contract that spells out the full scope of work, itemized costs, payment schedule, timeline, and warranty terms. A verbal agreement is not enough protection for a project of this scale. If your contractor is reluctant to provide written documentation, that is a strong signal to look elsewhere.
Stage 4: Installation — What Happens in Your Home
Once work begins, your bathroom will be temporarily out of use. Plan ahead by identifying another bathroom in your home or arranging temporary access elsewhere. A typical accessible bathroom renovation proceeds in this general order:
- Demolition — existing fixtures, tile, and sometimes flooring are removed.
- Rough-in work — plumbing and electrical adjustments happen behind walls before anything is closed up.
- Inspections — if permits were pulled, an inspector will visit at required stages. Do not allow work to proceed past an inspection point without sign-off.
- Finishing — tile, fixtures, grab bars, and flooring are installed.
- Final cleanup — the space is cleaned and made ready for your walkthrough.
For a deeper look at what a walk-in shower installation specifically involves, read our guide on planning your first walk-in shower.
Stage 5: Final Walkthrough and Moving Forward
Before signing off and making your final payment, do a thorough walkthrough with your contractor. Test every feature: turn on the shower, flush the toilet, pull on grab bars firmly to confirm they're securely anchored, and check that all doors open and close properly.
Note anything that doesn't meet your expectations in writing, and confirm with your contractor when and how those items will be resolved. Keep copies of all permits, warranties, and inspection records — you'll want them for home insurance purposes and if you ever sell.
Once your accessible bathroom is complete, you'll have a space that works harder for your safety and comfort every day. For an end-to-end resource on what comes after planning, including design decisions and long-term upkeep, see walk-in showers from start to finish.
This article is for general informational purposes only. Always consult a licensed contractor and verify local building code requirements before beginning any renovation project.