

Key Takeaways
What 'Accessible' Really Means for Your Bathroom
The term accessible bathroom refers to a space designed to be safe, comfortable, and usable regardless of mobility level. For homeowners 50 and older, this isn't about preparing for a worst-case scenario — it's about building a home that supports you confidently through every stage of life.
Accessibility features range from simple additions like grab bars and non-slip flooring to more involved changes such as widening doorways, lowering countertops, or replacing a standard tub with a walk-in shower or walk-in tub. For a thorough explanation of what these terms mean in practice, see what an accessible bathroom actually means.
The goal is a bathroom that reduces fall risk, accommodates assistive devices if needed, and keeps daily routines manageable — without sacrificing comfort or style.
Assessing Your Current Bathroom and Needs
Before contacting a single contractor, spend time honestly evaluating your current bathroom. Walk through it as if navigating with reduced balance or limited grip strength. Ask yourself:
- Is the entrance wide enough for a walker or wheelchair? Standard accessible doorways are at least 32–36 inches clear.
- Is there enough turning space inside — roughly a 60-inch diameter clear floor area?
- Does the shower or tub require stepping over a high threshold?
- Are the faucets, light switches, and outlets reachable without bending or stretching?
Write down every barrier you notice. This list becomes the foundation of your renovation plan. If you're unsure whether to modify your existing bathroom or start fresh, weigh the real trade-offs between retrofitting and full replacement before committing to a direction.
When assessing your bathroom, bring someone you trust to observe you moving through the space naturally — it's easy to overlook barriers you've unconsciously learned to work around.
Habitual workarounds, like always holding the towel bar for balance, can mask real hazards that a fresh set of eyes will catch immediately.
Ask your contractor to show you a completed accessible bathroom project in person if possible, not just photos — this lets you test the grab bar placement, threshold height, and turning space yourself.
Dimensions that look fine on a plan can feel very different in a real space, and experienced contractors doing accessibility work will welcome this kind of due diligence.
Key Features to Plan For
Accessible bathrooms typically focus on four core areas. Prioritize based on your assessment:
Shower and Bathing Area
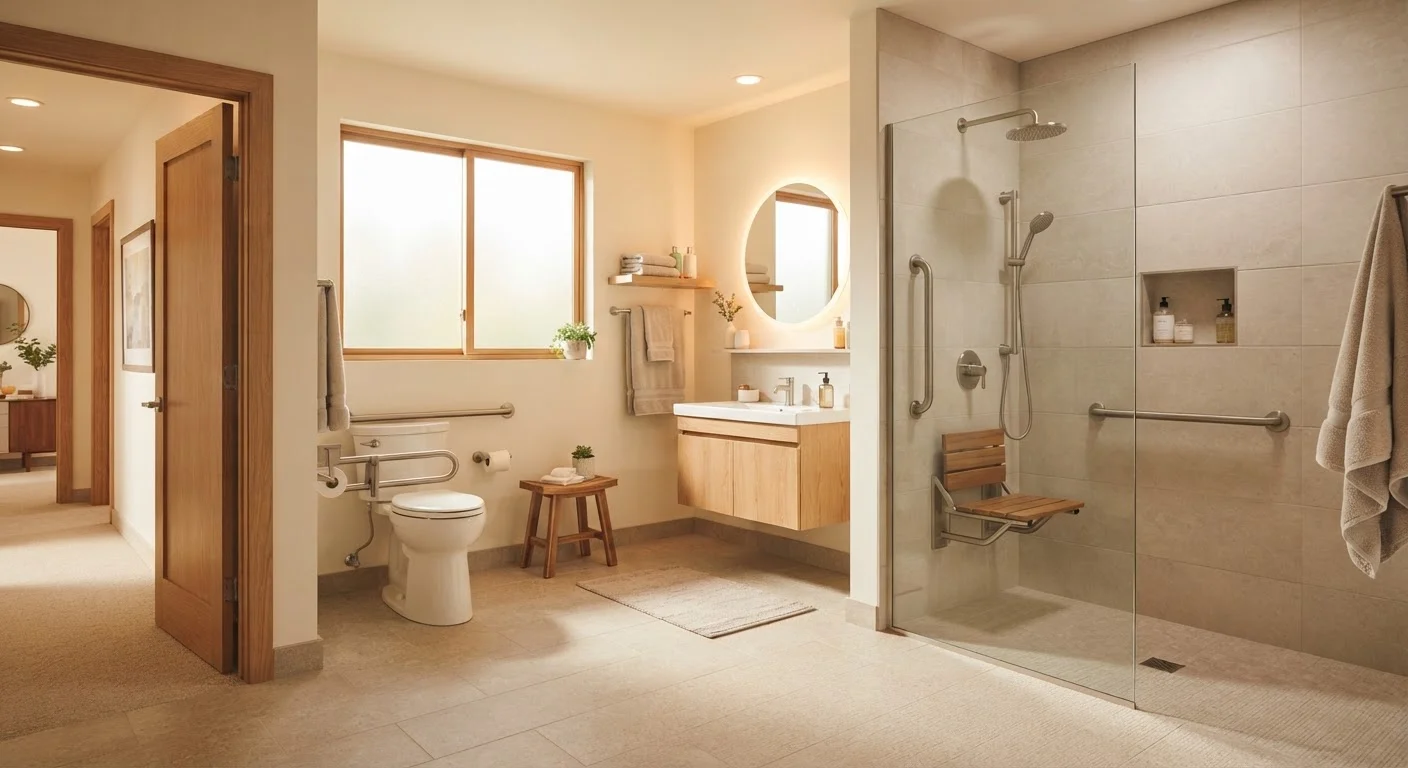
A curbless (zero-threshold) walk-in shower is one of the most impactful changes you can make. It eliminates the most common trip hazard and works with shower chairs or benches. Planning your first walk-in shower covers sizing, layout, and accessibility features in detail. For a broader look at design and installation, the end-to-end walk-in shower guide is a useful companion resource.
Grab Bars and Support
Grab bars should be installed near the toilet, inside the shower, and at the tub entry. They must be anchored into wall studs or blocking — not just drywall — to support real body weight.
Flooring
Non-slip tile with a textured or matte finish significantly reduces wet-floor falls. Avoid highly polished surfaces in any wet zone.
Fixtures and Controls
Lever-style faucet handles are easier to operate than round knobs. A handheld showerhead on an adjustable slide bar lets you shower seated or standing without repositioning.
Budgeting for an Accessible Renovation
Renovation costs vary considerably depending on your location, the scope of work, and your bathroom's existing layout. Rather than quoting specific figures that may not reflect your area, focus on how to build a realistic budget:
- Get itemized quotes. Ask each contractor to break out labor, materials, permits, and disposal separately. This makes comparing quotes meaningful.
- Budget for surprises. Older homes often have hidden plumbing or structural issues discovered mid-project. A contingency of 10–20% of your total budget is a reasonable buffer.
- Separate needs from wants. Safety features like grab bars and a curbless shower should come first. Cosmetic upgrades can follow if budget allows.
Some accessible modifications may qualify for assistance through state aging-in-place programs, Medicaid waiver programs, or nonprofit home repair organizations. Ask your local Area Agency on Aging what programs exist in your region — requirements and availability vary widely.
Choosing and Working with a Contractor
Hiring the right contractor is as important as choosing the right features. For an accessible renovation, look for contractors with demonstrated experience in aging-in-place or ADA-compliant (Americans with Disabilities Act) bathroom work. A Certified Aging-in-Place Specialist (CAPS) designation from the National Association of Home Builders indicates specific training in this area, though it does not replace standard licensing.
Before signing anything, verify:
- State contractor license (check your state's licensing board online)
- General liability insurance and workers' compensation
- References from accessible or senior-focused renovation projects
- A written contract covering scope, timeline, payment schedule, and warranty terms
Never pay the full amount upfront. A typical structure is a deposit at signing, progress payments tied to milestones, and a final payment only after you've inspected the completed work and are satisfied.
If you're new to home renovation in general, what to expect from planning to completion walks through each project stage in plain language.
Permits, Timelines, and What to Expect
Most accessible bathroom renovations that involve moving plumbing, altering walls, or widening doorways will require a building permit from your local municipality. Permits aren't just bureaucratic formalities — they trigger inspections that protect you by verifying the work meets local building codes.
Your contractor should pull the permits, not you. If a contractor suggests skipping permits to save time or money, treat that as a serious warning sign.
A typical timeline from first contractor meeting to project completion might span four to eight weeks, but this depends heavily on contractor availability, permit processing times in your area, and whether any unexpected structural or plumbing issues arise.
During construction, plan for limited or no bathroom access. If you have only one bathroom, discuss this with your contractor early and arrange alternatives — a YMCA membership, staying with family, or scheduling work in phases to maintain partial use.
This article provides general educational information only. Costs, timelines, permit requirements, and contractor licensing rules vary by location. Always verify local requirements with your municipality and consult a licensed professional before beginning any renovation work.