

Key Takeaways
What Flushing Actually Does for Your Gutter Guard System
Gutter guards significantly reduce the amount of debris that enters your gutters, but they are not entirely maintenance-free. Fine particles — pollen, shingle grit, dirt, and decomposed organic matter — can settle on top of the guards and gradually restrict water flow. A periodic flush with a garden hose clears this buildup before it hardens or causes water to spill over the edge of the gutter.
Think of it as rinsing rather than deep cleaning. The goal is to move loose surface debris off the guards and push any material inside the gutter channel toward the downspout. Done correctly, flushing takes less than an hour on a typical single-story home and does not require removing any guards. For a broader picture of what routine care involves throughout the year, see our year-round gutter guard maintenance overview.
What you will need
Tools and Safety Considerations Before You Start
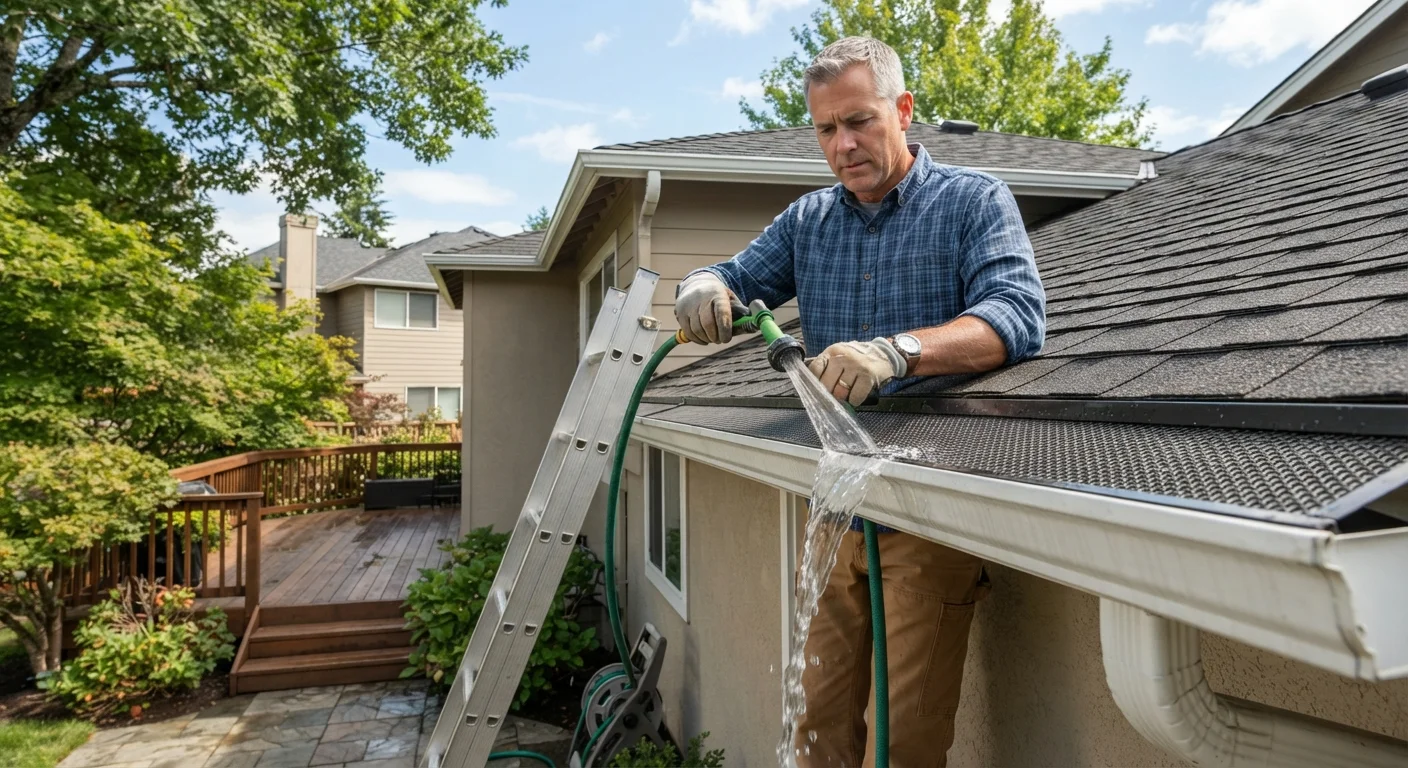
You need very little equipment for this task, but choosing the right setup matters. A garden hose with an adjustable spray nozzle gives you the control you need. Set it to a moderate, fan-shaped stream — not a pinpoint jet. That gentler spread rinses without forcing water under the guard's edge or dislodging fasteners.
Garden hose with adjustable nozzle
Delivers a controlled, low-pressure stream of water to rinse debris off and through the guards.
Extension wand attachment
Allows you to direct water into gutters from a ladder without overreaching or leaning dangerously.
Stable extension ladder
Provides safe, stable access to gutter height on most single-story and some two-story homes.
Work gloves
Protects hands when touching guards, debris, or metal gutter edges.
Bucket or tarp
Catches loosened debris that falls from guards so it does not wash into garden beds or clog drains.
Safety deserves more attention than most homeowners expect. If your gutters are on a single-story home and you can reach them comfortably from a stable ladder without stepping onto the roof, this is a manageable DIY task. If reaching the gutters requires climbing onto the roof itself, the risk profile changes significantly. Our roof safety guide for gutter cleaning covers what to watch for and when hiring a professional is the wiser call.
Step-by-Step: Flushing Your Gutter Guards Safely
Follow these steps in order. Skipping the inspection stages is where most damage occurs — homeowners flush without noticing a lifted guard edge and end up forcing water into the fascia board behind the gutter.
Inspect the guards before applying any water
Before you turn on the hose, visually examine the gutter guards from the ladder. Look for sections that are lifted, bent, or have visible debris piles sitting on top. Note any areas where the guard meets a valley or corner — these spots accumulate the most material. A quick inspection now prevents you from flushing debris into a problem area and making it worse.
Set your hose to a low-to-medium fan spray
Twist your adjustable nozzle to a wide fan or gentle shower setting. Avoid the jet setting entirely — a concentrated stream can force water underneath guard edges, bend thin mesh panels, or dislodge foam inserts from their channel. If your nozzle only has one strong setting, partially restrict the flow at the spigot instead.
Begin flushing from the end farthest from the downspout
Start at the closed end of the gutter run — the end without a downspout — and work your way toward the downspout. This pushes debris in the correct direction rather than compacting it against the outlet. Hold the nozzle roughly six to twelve inches above the guard surface and sweep slowly along the length of the gutter in overlapping passes.
Flush the downspout directly
Once the main gutter run is done, insert the hose nozzle directly into the top of the downspout and run a steady stream for thirty to sixty seconds. Watch the bottom of the downspout — water should exit freely. A slow trickle or no water at all indicates a blockage inside the downspout itself, which will need to be cleared separately before the system can drain properly.
Do a final visual pass while the water is still running
With the hose running at the closed end of the gutter, walk back along the run and watch how water behaves across the full length. Properly functioning guards will allow water to sheet through or around them into the gutter trough below. Any spot where water pools on top of the guard for more than a few seconds suggests a clog or a sagging section that needs attention.
After the Flush: What to Check and When to Call a Pro
Once the water has drained, walk the length of your gutters and look at what happened. Water should have exited cleanly through each downspout. If any section still drains slowly or pools, there may be a partial blockage inside the gutter trough itself — a situation that typically requires removing a section of guard to clear by hand.
Also note whether any guards shifted during flushing. Micro-mesh and snap-in styles are generally secure, but foam inserts or loosely fitted screen guards can move. Re-seat any that feel raised at the edges. If you notice bent sections, rust spots, or guards that no longer sit flush, those areas may need professional attention. The type of guard you have affects how durable it is under water pressure — our gutter guard types quick reference can help you identify your system and understand its care requirements.
Time Your Flush for a Dry, Calm Day
Flushing gutter guards is easiest when the guards and debris are dry — wet leaves and sludge are heavier and cling to surfaces. A calm, clear morning also gives you better visibility of how water is flowing and makes ladder work safer. Avoid flushing during or immediately after heavy rain, when gutters are already stressed.
As a general rule, plan to flush gutter guards at least twice a year — once in late spring after tree pollen season and once in late autumn after the last leaves have fallen. Homes surrounded by pine trees or heavy deciduous canopy may benefit from an additional flush in midsummer. If you are considering upgrading your system or want to understand what a professional installation involves, our overview of how gutter guard installation works explains what to expect from start to finish.