

Key Takeaways
Why Installation Quality Shapes Energy Performance
Homeowners often focus almost entirely on a window's energy ratings — its U-factor, Solar Heat Gain Coefficient, or Energy Star certification — when planning a replacement project. Those ratings matter, but they describe how a window performs under controlled laboratory conditions, not in your wall. The real-world performance gap between a well-installed window and a poorly installed one can be substantial, regardless of what the label says.
Energy loss in a replacement window installation almost never comes from the glass itself. It comes from the interfaces: the joints between the window frame and the rough opening, the transitions between old and new materials, and any sealing steps that were skipped or rushed. Understanding these failure points helps you have a more productive conversation with any contractor you consider hiring. For a broader foundation on ratings and frame types, the full overview for homeowners starting from scratch covers what to look for before you ever pick a product.
The Most Common Installation Mistakes and How to Avoid Them
The mistakes below account for the majority of energy-loss complaints homeowners report after a window replacement. None of them are inevitable — they result from shortcuts, inexperience, or poor communication between homeowner and contractor.
Leaving gaps around the perimeter of the window frame unsealed, or relying solely on interior caulk.
Why it happens: Installers sometimes treat interior caulk as sufficient and skip the exterior perimeter seal or backing backer rod, especially when the rough opening has irregular edges.
Installing a replacement window in an out-of-square or damaged rough opening without correcting it first.
Why it happens: Correcting a damaged or racked opening adds labor time and cost. Contractors under pricing pressure may shim to fit rather than address the underlying problem.
Omitting or incorrectly installing sill pan flashing at the base of the window opening.
Why it happens: Sill pan flashing is a detail often associated with new construction and is sometimes skipped on retrofit replacements to save time, especially when the exterior cladding is left in place.
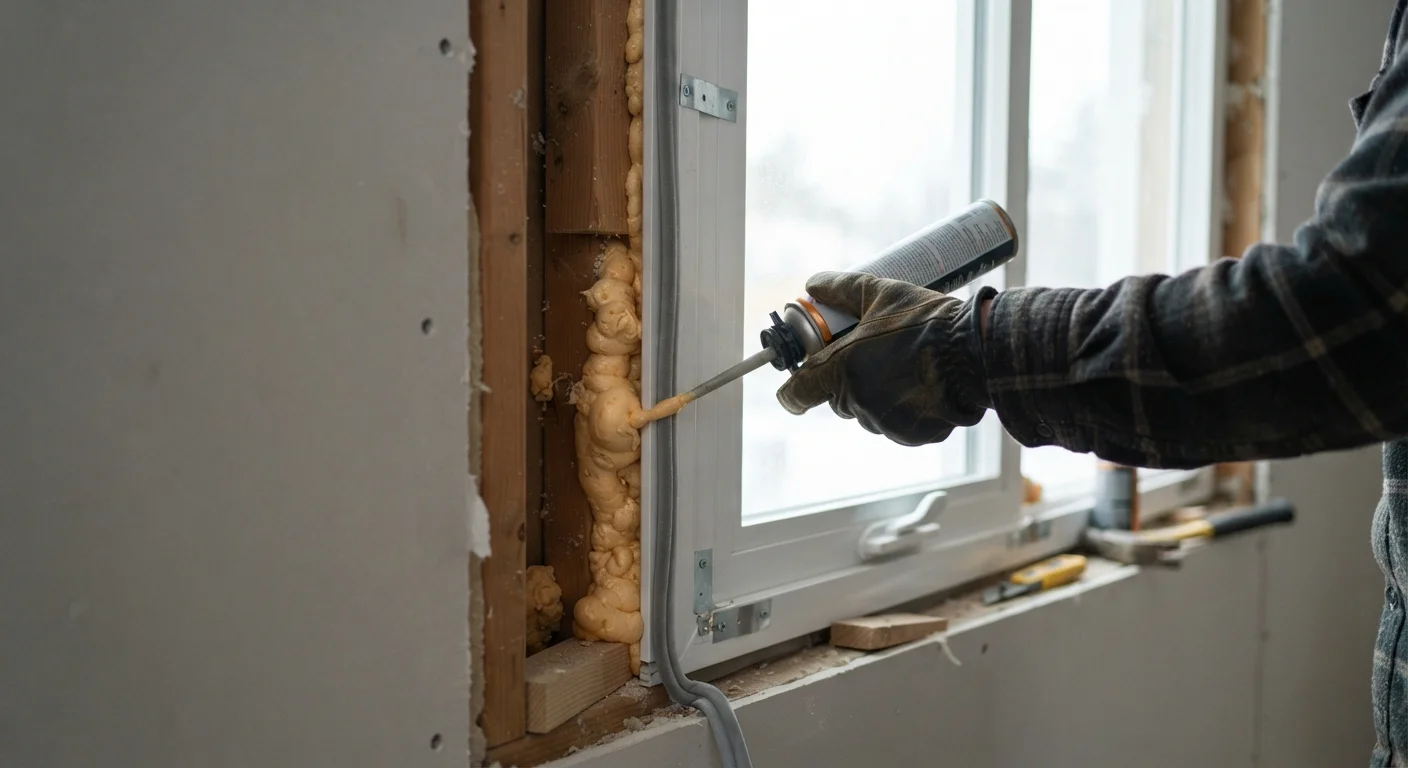
Using high-expansion foam insulation inside the frame cavity, which can bow the frame and distort operation.
Why it happens: High-expansion foam is cheaper and more widely available than window-specific low-expansion foam. Some installers use it by habit without accounting for the pressure it exerts as it cures.
Relying on the window's decorative interior trim to cover — rather than seal — gaps between the frame and drywall.
Why it happens: Interior trim is often installed quickly at the end of a job. It's easy to assume that caulk behind trim or paint will handle any remaining gaps, but trim alone does not block airflow.
Invisible After Trim: Inspect Before Finishing
Most installation defects — unsealed perimeter gaps, missing sill pan flashing, high-expansion foam — are completely hidden once interior trim and exterior caulk are applied. Request a walk-through of the rough opening before finish work begins. Photographs of each installed window's perimeter, taken before trim goes up, give you a record of what was done and can support any warranty claim later.
Once a window is trimmed out and painted, most installation defects become invisible without invasive inspection. That's why it's worth discussing each of these points with your contractor before work begins, not after you notice a draft in January. See questions to ask a window contractor about energy performance for a practical checklist to use during that conversation.
What Good Installation Actually Involves
A properly installed replacement window addresses four distinct zones: the rough opening (the structural cavity in the wall), the sill pan (the base of the opening that must shed water away from the wall), the perimeter seal (caulk or foam that closes air gaps), and the interior finish (trim that covers but does not compensate for sealing gaps). Each zone requires deliberate attention.
Sill pan flashing — a sloped barrier at the bottom of the opening — is frequently omitted on retrofit jobs because it adds time and material cost. Without it, any water that works past the exterior caulk has no managed path out and can rot the surrounding framing silently over years. The guide on condensation and new windows explains how to distinguish normal condensation patterns from signs that moisture is infiltrating the wall assembly.
It's also worth understanding that energy-efficient glass upgrades — low-E coatings, gas fills, warm-edge spacers — only deliver their rated benefit when the frame around them is properly sealed. Energy efficiency upgrades and their effect on pricing outlines what each upgrade adds to cost and what it's designed to do, so you can weigh whether the investment makes sense given your climate and installation quality.
Before finalizing any contractor, ask to see their specific process for each of these zones. Vague answers — "we follow standard practice" — warrant follow-up questions. A contractor confident in their installation method can describe it in plain language. Separating window replacement myths from real numbers also addresses inflated energy-savings claims that can cloud this decision.
This article is for informational purposes only. Installation requirements, building codes, and permit obligations vary by location. Always verify local requirements with a licensed contractor or your local building authority.